Installing Ubuntu 12.04.2 Server LTS as a Virtual Machine

One step in setting up a virtual network is to install Ubuntu in a virtual machine. This is relatively straightforward when using VirtualBox (and other VM software). Here I list the main steps in performing the install, with selected screenshots. This can be used for those who have never installed Ubuntu before.

The instructions are for, and were performed with, VirtualBox 4.1.12_Ubuntu r77245 on a host machine running Ubuntu 12.04 Desktop (64-bit). The virtual machine guest was Ubuntu 12.04.2 Server LTS (32-bit), with filename ubuntu-12.04.2-server-i386.iso (available for download from Ubuntu or from a local mirror. Other versions of VirtualBox running on other operating systems (Windows, MacOS, Linux) should involve the same steps. If you choose a different version of Ubuntu as the guest then the steps may differ slightly.

Most of the steps involve selecting the default options. I have tried to summarise the set of options you must choose (other than default) in the table below. Note the values chosen assume you are using this install of Ubuntu in a virtual network. They are probably not the best values if you want to install Ubuntu for other purposes.

SystemParameterValue
VirtualBoxNameBase
VirtualBoxOperating SystemLinux
VirtualBoxVersionUbuntu
VirtualBoxBase Memory Size128 MB
VirtualBoxVirtual Disk Size2 GB
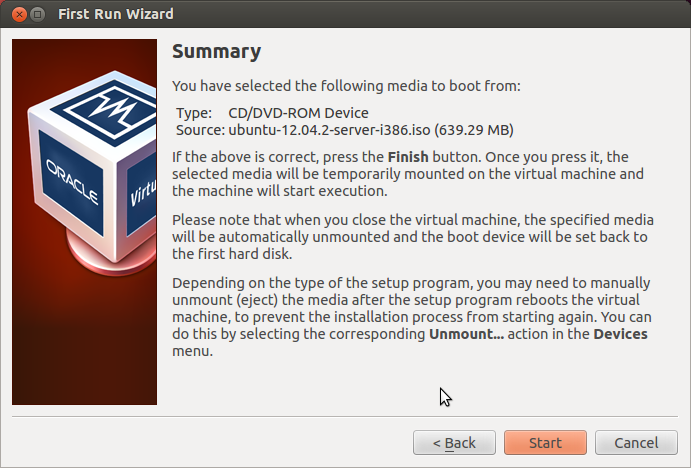
VirtualBoxInstallation media sourceubuntu-12.04.2-server-i386.iso
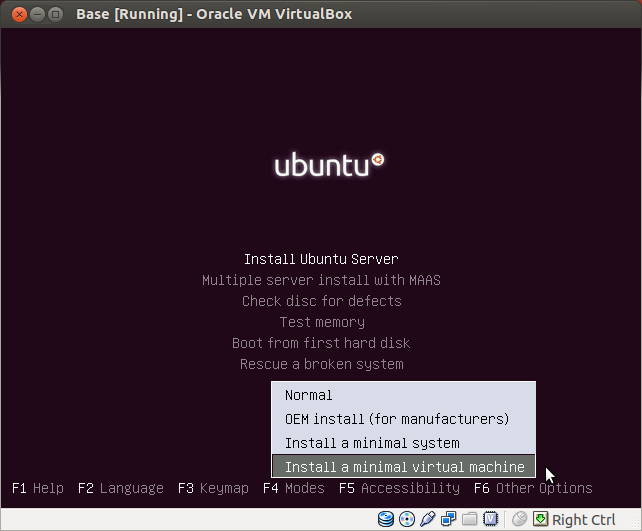
Ubuntu Install MenuModesInstall a minimal virtual machine
Ubuntu Installationhostnamebase
Ubuntu Installationusernamenetwork
Ubuntu Installationpassword[your choice]
Ubuntu InstallationPartition disksGuided - use entire disk
Ubuntu InstallationUpgradesNo automatic updates
Ubuntu InstallationSoftware selectionBasic Ubuntu server, OpenSSH server, LAMP server
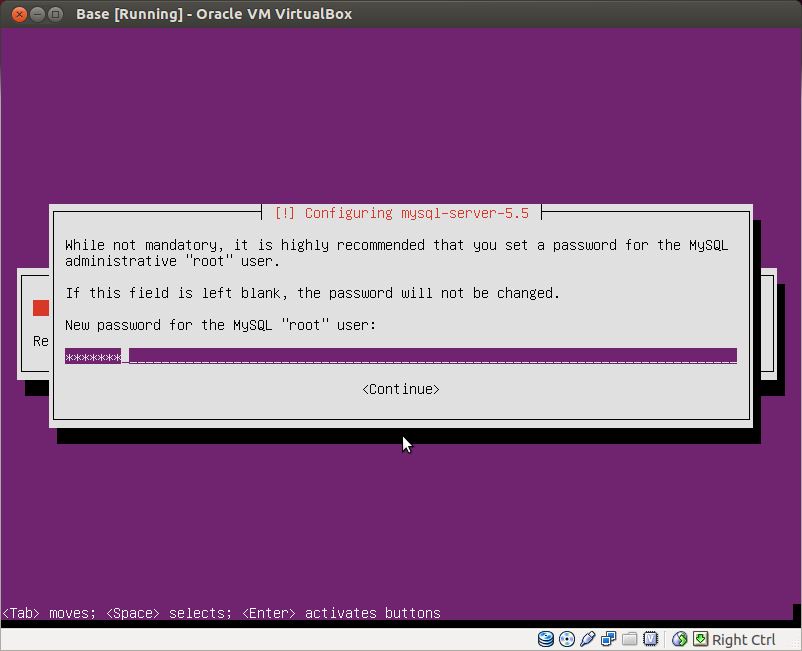
Ubuntu InstallationMySQL root password[your choice]

Creating New Virtual Machine in VirtualBox

Read the screenshot captions for further information.
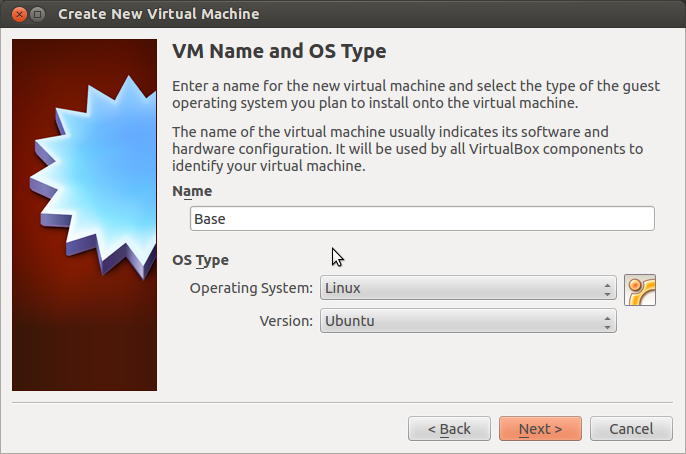
lets call it Base
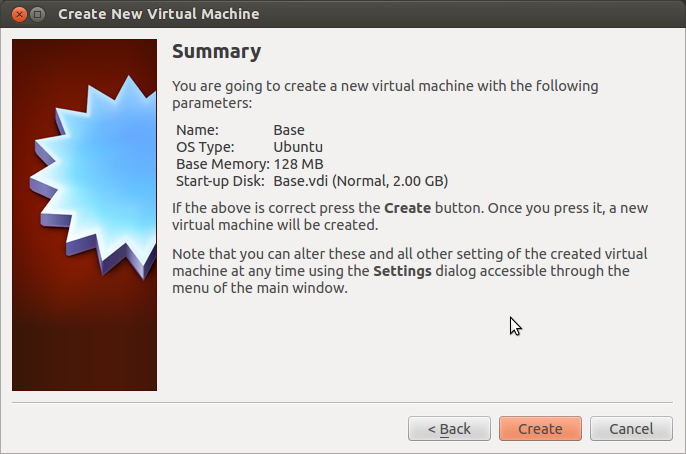
This virtual machine will eventually be copied (cloned) to others, so lets call it "Base".
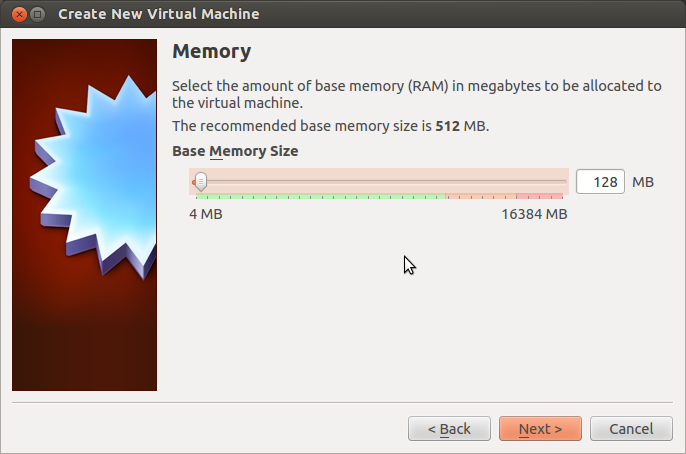
128 MB of RAM should be sufficient
128 MB of RAM should be sufficient for most uses in the virtual network. You may use a higher amount (256 MB or even 512 MB), especially if your host computer has more than 4GB of RAM.
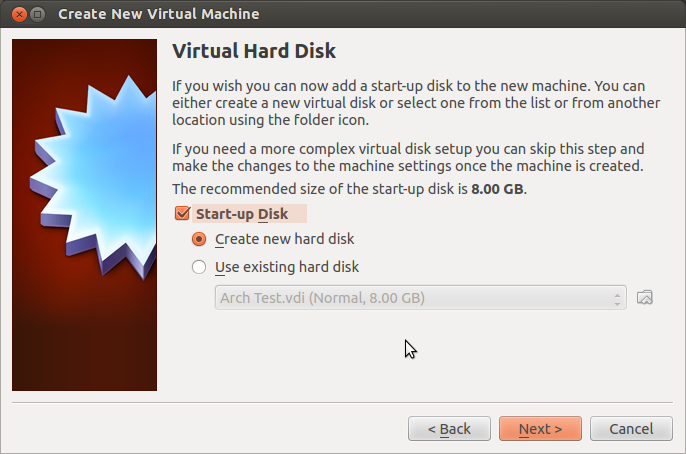
Create new hard disk
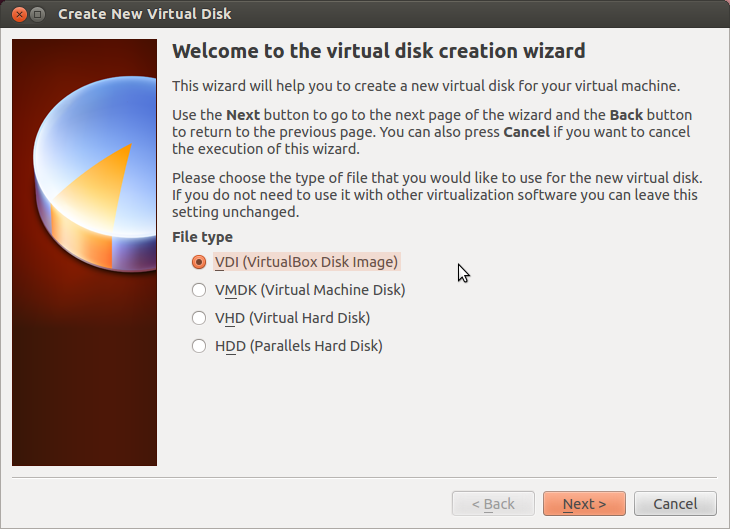
VDI
VDI
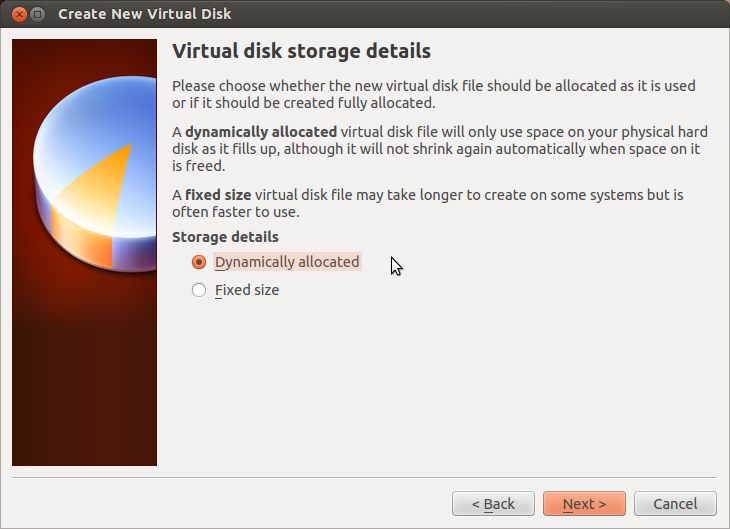
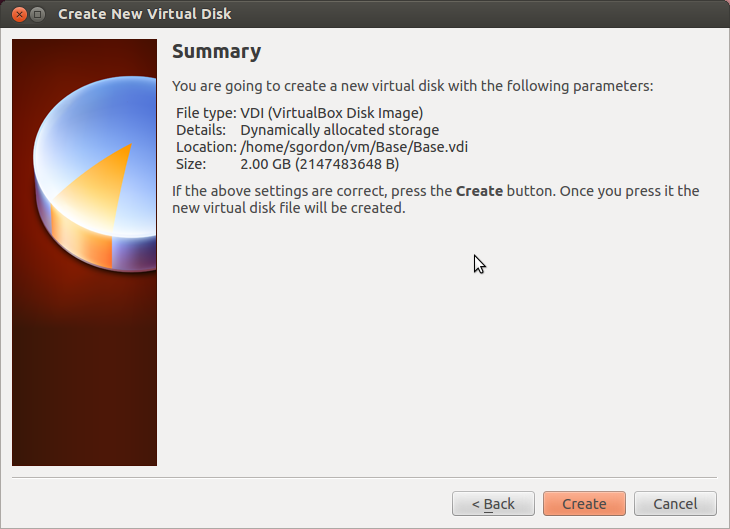
Dynamically allocated
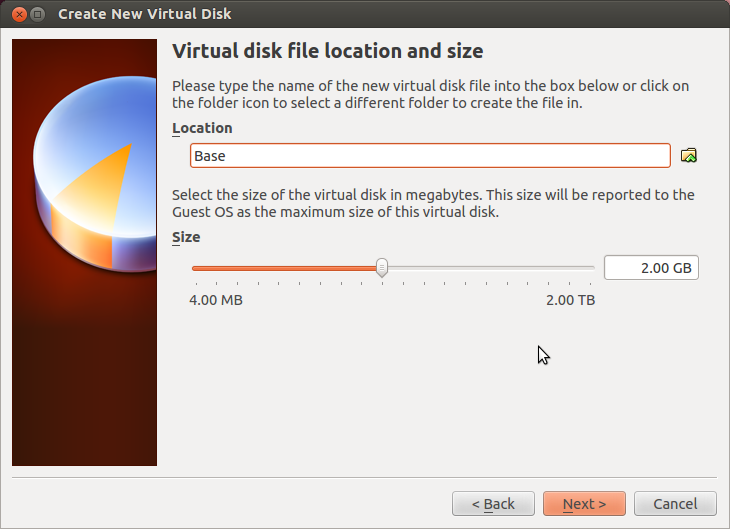
Ubuntu will take up about 1.7 GB
Once all the software necessary for the virtual network is installed, Ubuntu will take up about 1.7 GB. So a 2GB disk image will leave enough room to store some demo files. If you've got plenty of free disk space on your host computer you may increase to 3 or 4GB.
Create the disk image
Create the virtual machine

Running a Virtual Machine Guest for First Time
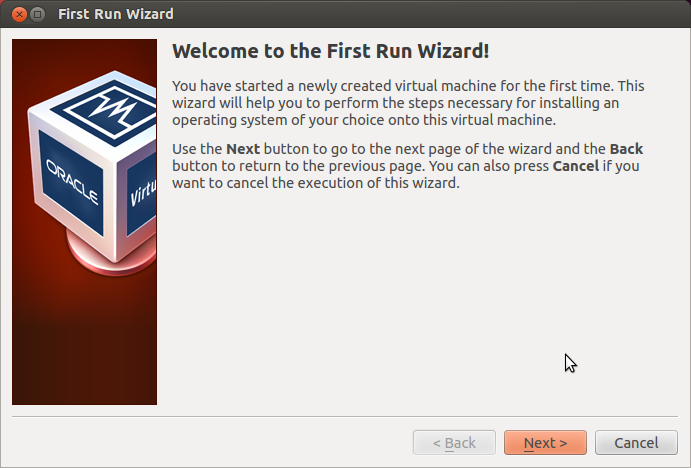
This should be displayed after you select to Start your new VM
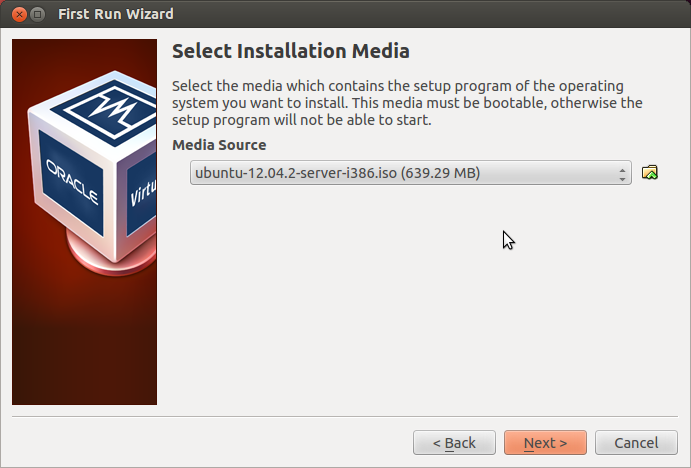
Select the Ubuntu .iso that you downloaded
Start ...
Start ...

Installing Ubuntu as Guest

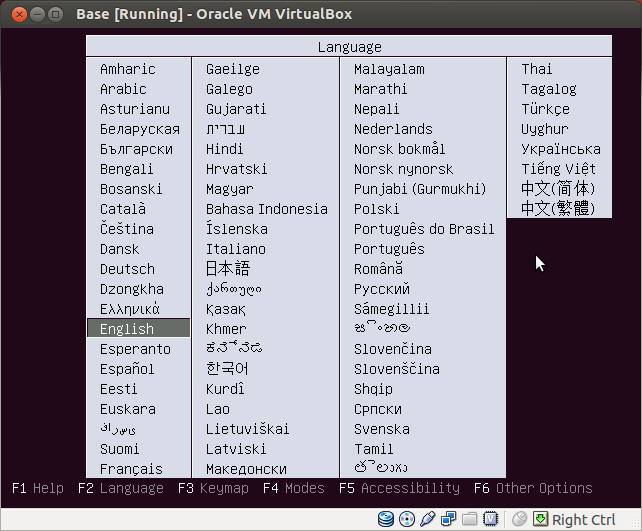
Select your language for the installer
Select your language for the installer (this is not the language used in Ubuntu, only during the install).
 press F4 and select Install a minimal virtual machine
Before selecting "Install Ubuntu Server", press F4 and select "Install a minimal virtual machine".
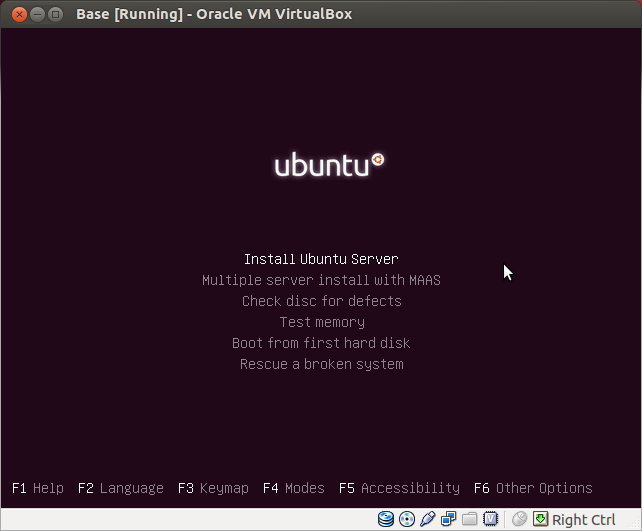
Now select Install Ubuntu Server
Now select "Install Ubuntu Server"

Note that the following are only some of the screens you will see. Read them carefully and select appropriate values.
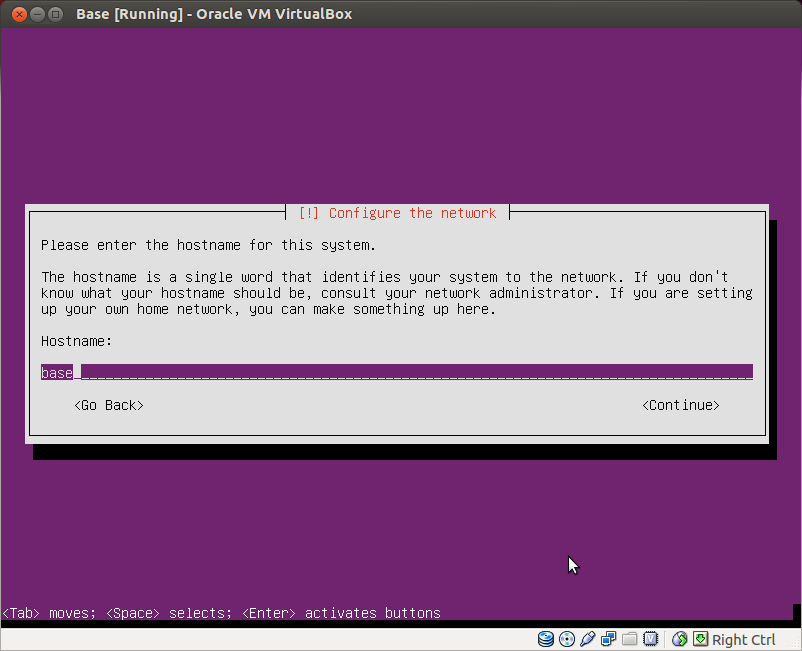
Choose a hostname like base
Choose a hostname like "base"
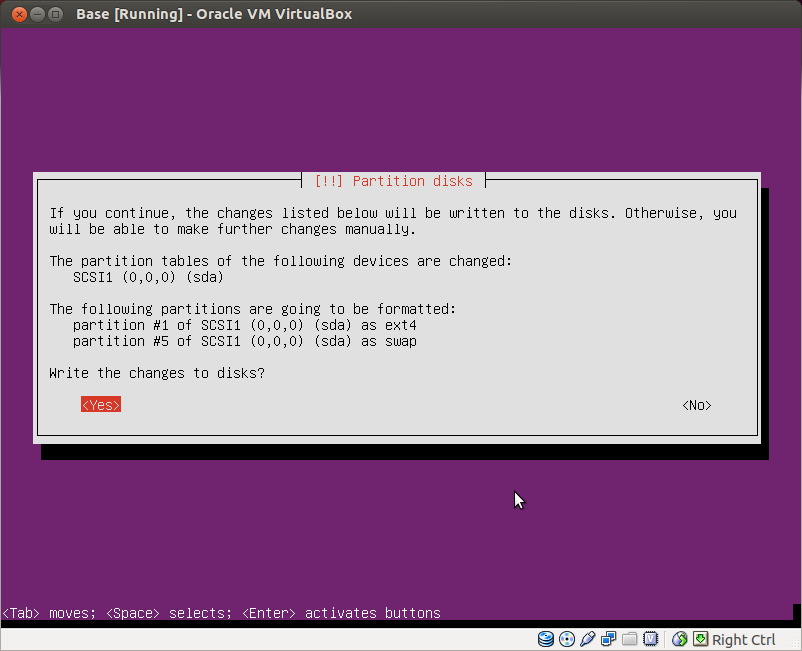
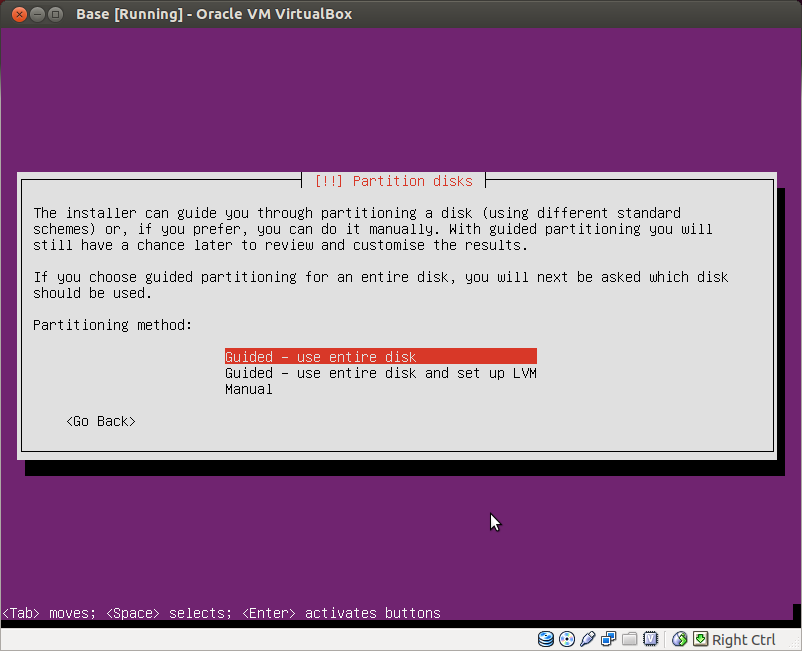
The default Guided - use entire disk is the correct partition scheme
The default "Guided - use entire disk" is the correct partition scheme. Since this is installed in as a virtual machine guest, there is no need to advanced partition schemes, or concerns with overwriting existing partitions.
Write the changed to disk
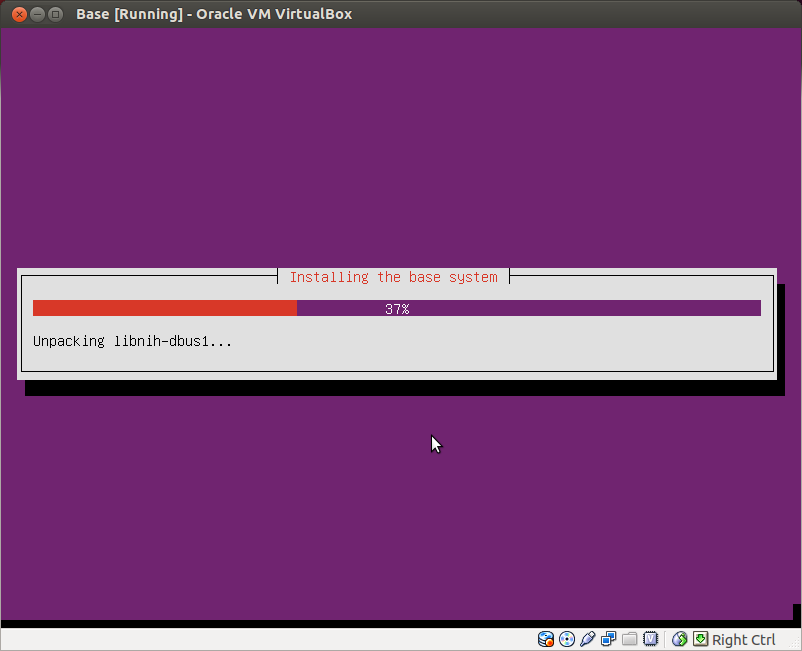
It may 5 to 10 minutes to install, depending on your computer and network connection
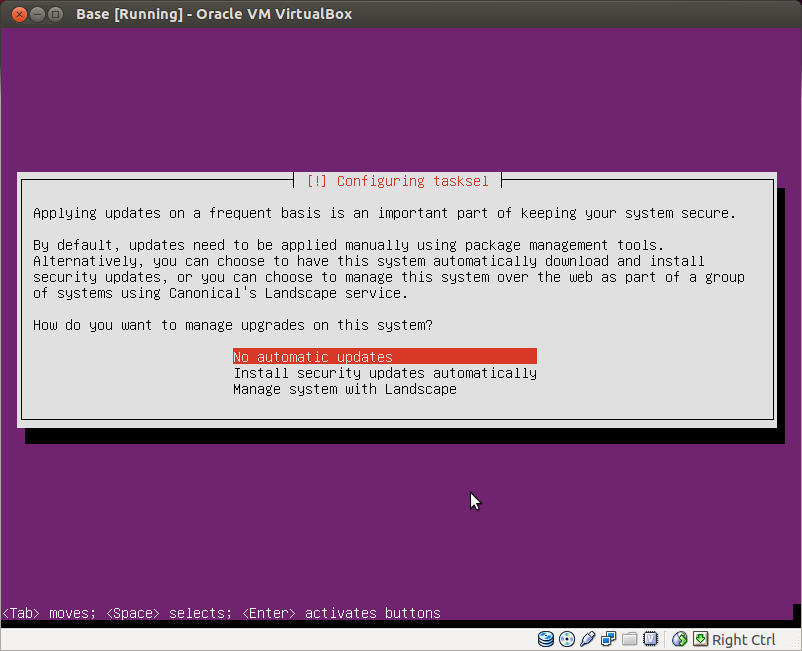
Select No automatic updates
As I'd like to keep the versions of software used in the virtual network as close as possible amongst the different users, you may select "No automatic updates"
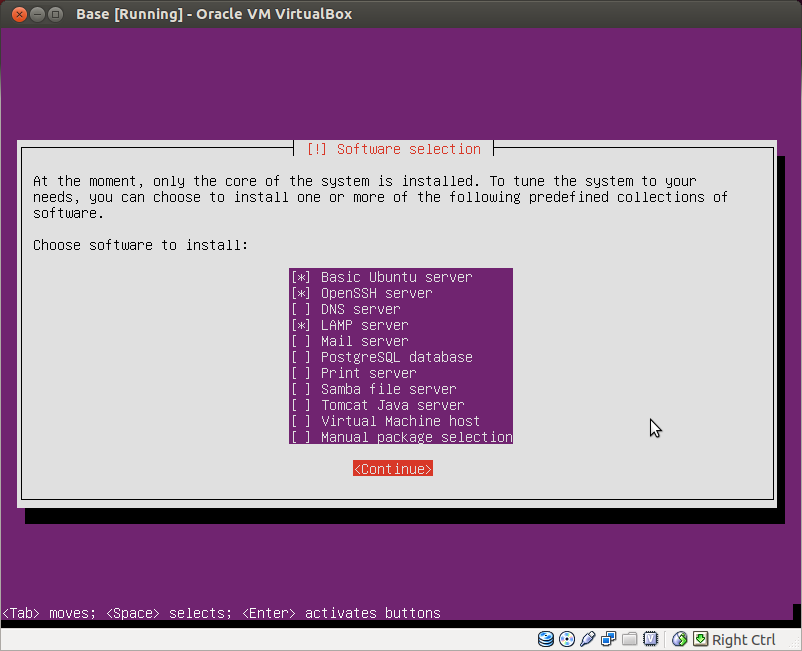
Here it is important to select the three sets of software indicated: Basic Ubuntu server, OpenSSH server, and LAMP server
Here it is important to select the three sets of software indicated: "Basic Ubuntu server", "OpenSSH server", and "LAMP server". Then most of the software necessary will already be installed and configured when you start Ubuntu for the first time.
MySQL requires a password. For simplicity, you may use the same password as the login.
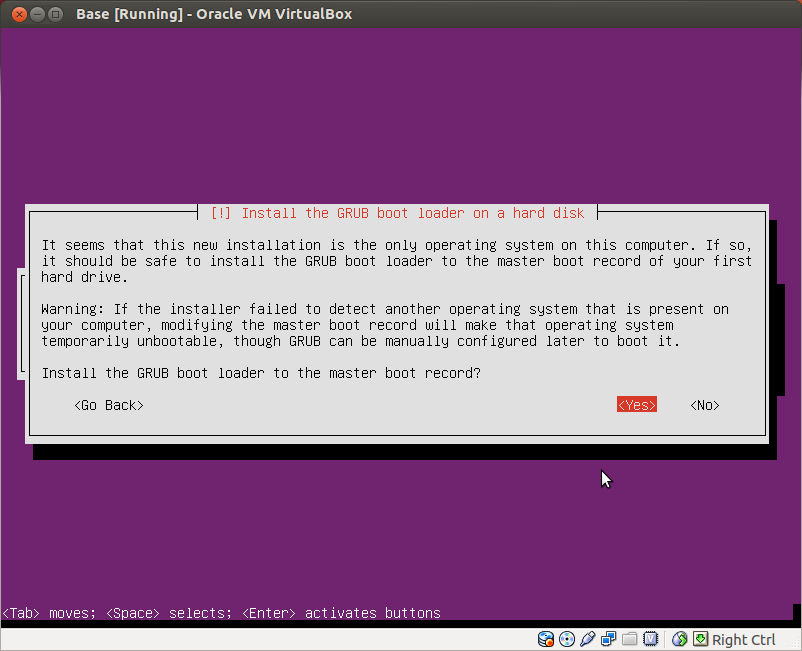
Again, as this is install as a virtual machine, there is no reason to worry about the warning. Choose Yes
Again, as this is install as a virtual machine, there is no reason to worry about the warning. Choose "Yes".
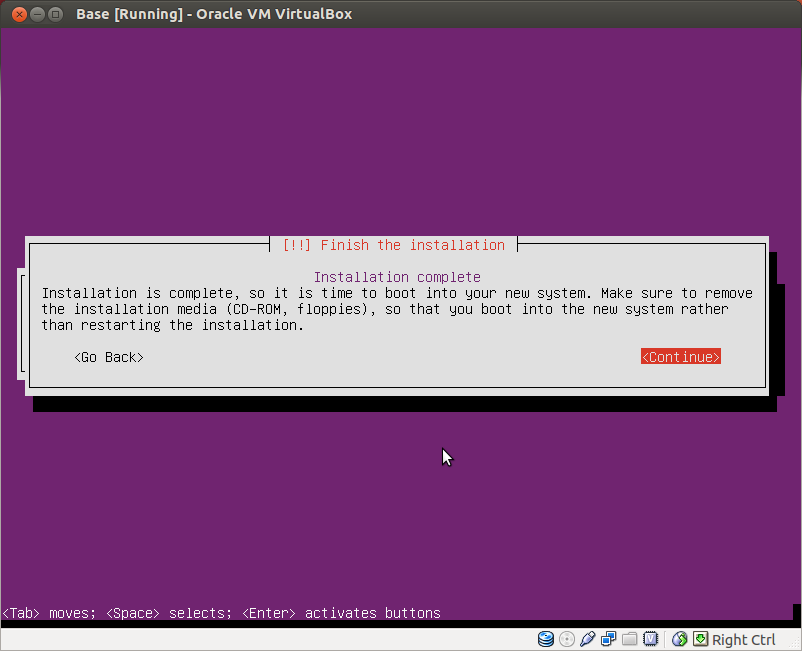
You're done. Reboot.

First boot of Ubuntu

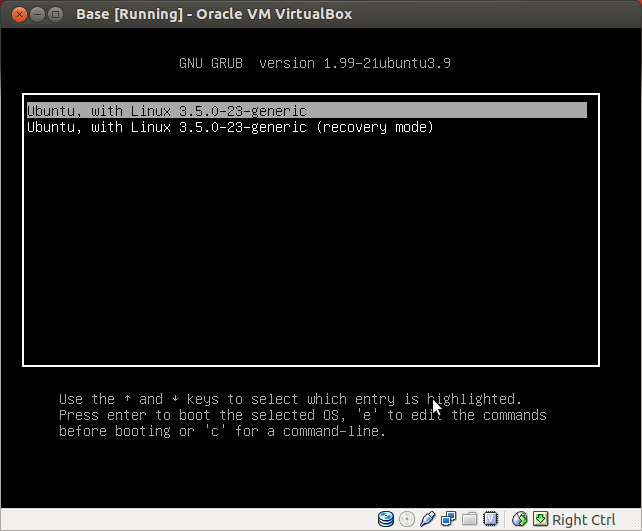
This the the menu for Grub boot loader. The first option will automatically chosen after a few seconds.
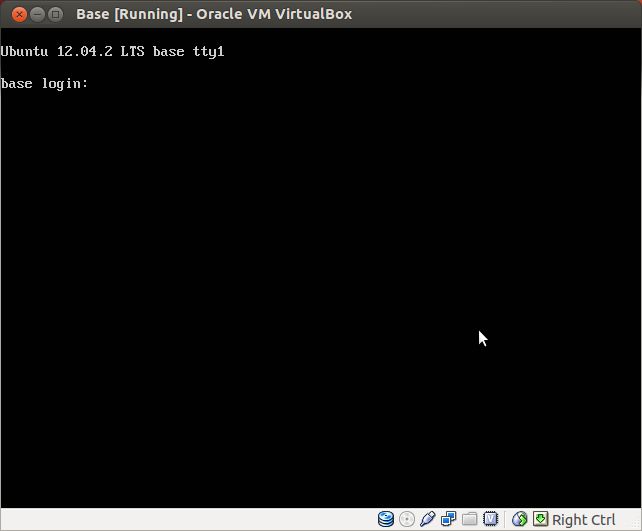
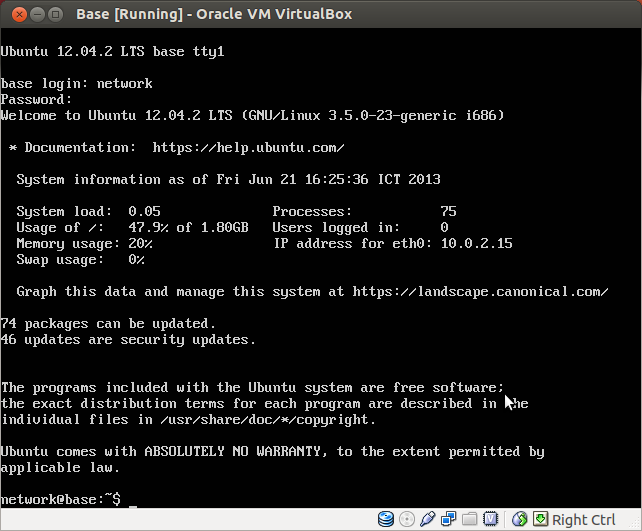
At the prompt, enter your login username and password
At the prompt, enter your login username and password.
You're now logged in and using Ubuntu in a virtual machine.